In this article, I’m going to show you how to charge your Shimano Di2 battery. The Shimano Di2 charging instructions below will go over the charger, cables and power source recommended to charge the internal battery.
Shimano Di2 Charging Instructions: Charging Shimano Di2 Battery
The Shimano electronic Gear Shifting system is called the DI2, short for “Digital Integrated Intelligence”.
This article focuses on Shimano 11-speed Di2 Ultegra systems.
Shimano Di2 Battery Charger
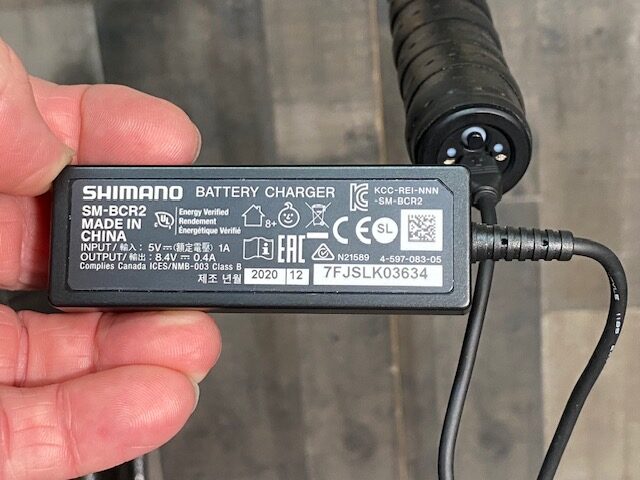
What you’re going to need to charge it is the Shimano charger SM-BCR2, pictured below. The charger has a Shimano connector on one end to plug into your bike. The other side of the charger has a micro USB connector to plug it into a power source.
If you do not have this charger, you can purchase it here: Shimano SM-BCR2 Charger.
Shimano Di2 Charging Instructions: Plugging the charger into the bike’s Di2 Junction Box
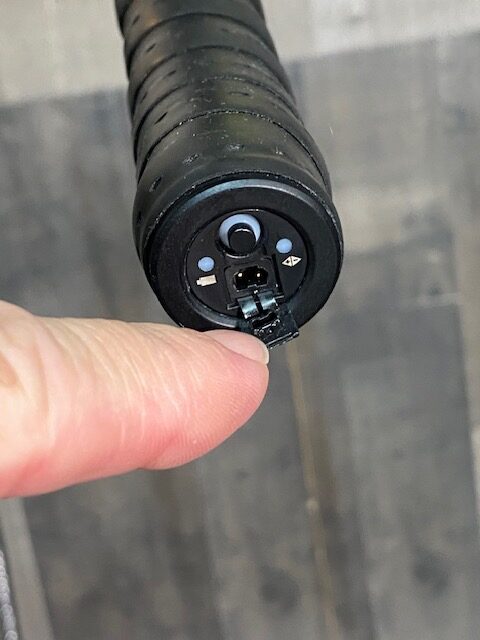
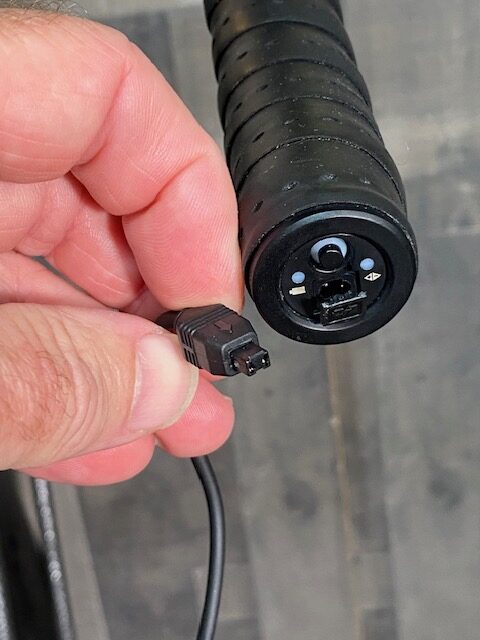
In order to charge the battery ,you must locate the Di2 Junction Box A on your bike. Your bike may have a EW-RS910 Junction Box A as pictured below. This type box has the charging port under a small cover right below the button.
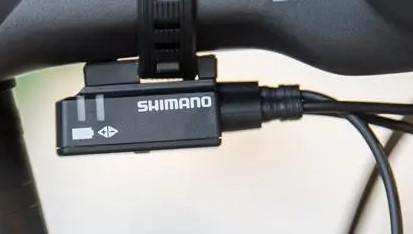
Alternatively, you may have an SM-EW90 Junction Box A. The SM-EW90 Junction Box may be mounted under the stem or handlebar. This type box has the charging port on the side.
Simply plug the Bike Connector end (shown in picture below) into the charging port.
Shimano Di2 Charging Instructions: Plugging the Charger into a power source
Then plug the other end of the charger into USB power source. Using a Micro-USB to USB Cable.
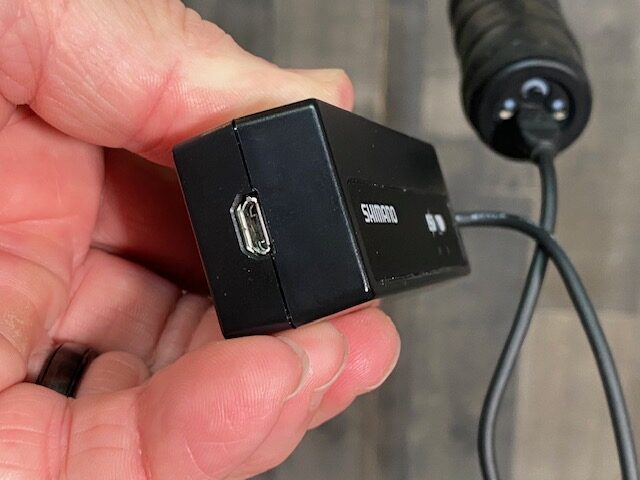
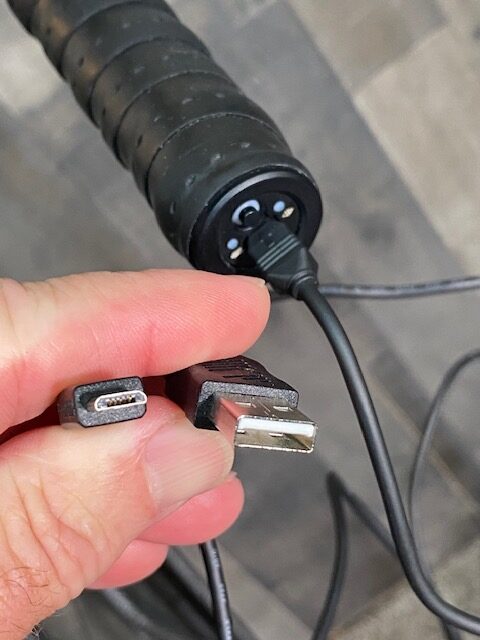
You want to plug the USB end of the cable into either a computer USB port (a blue powered USB if available), a standard charging block, or a higher power block.
The higher power block, which puts out 10 watts or more, will charge your Di2 battery a lot quicker (as well as other USB devices).
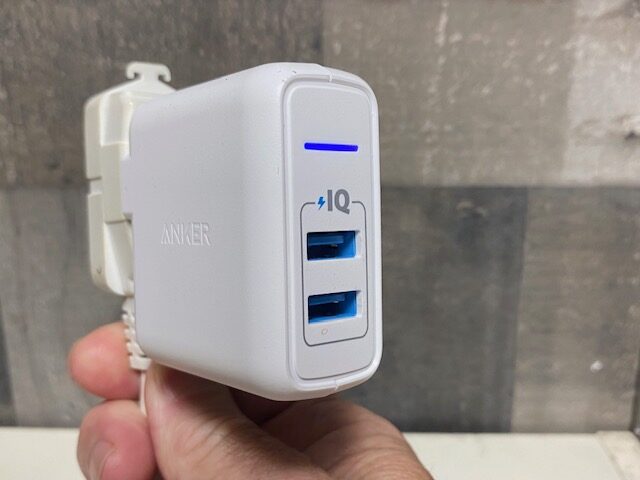
I use the Anker IQ power block pictured below for all my bike charging needs as it has a higher Wattage output which charges my devices faster. I use it for my Wahoo Roam Computer, Garmin Varia Radar Detector, Cycliq Cameras and Shimano Di2.
You can check it out at this link: Anker IQ Charging Block
A standard charging block will work fine, but it’ll take a little bit longer. If you plug it into a computer, it’s going to take even longer due to the power output.
When you plug it in, the charger is going to have an orange light under the charge icon. But when the charge is over, that light’s going to go out and your Shimano Di2 battery will be fully charged at that point.
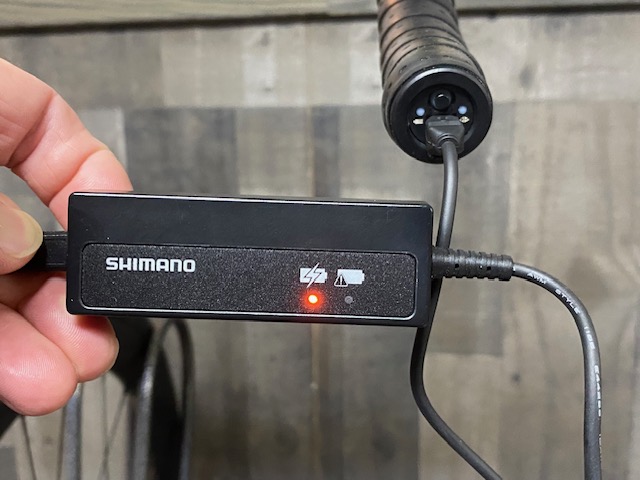
Then you are ready to ride! It is really simple so long as you have the correct charger and cable.
Video: Shimano Di2 Charging Instructions
Shimano Di2 Charging Instructions: Shimano Di2 Battery Indicator
You can check out my article and video on How to Check Shimano Di2 Battery Level but here are the quick instructions.
Your Junction Box A will have an LED on the left side with a little battery symbol below it.
All you need to do to check the Di2 internal battery status is press any of your shift levers for about half a second, and that light is going to come on.
If it comes on solid green, that means the battery charge is up around 100%. If it’s flashing green, it’s around 50%. If it’s red, it’s 25% or less. And if it’s flashing red, it’s just about dead. So, you want to get it charged if it comes up red.
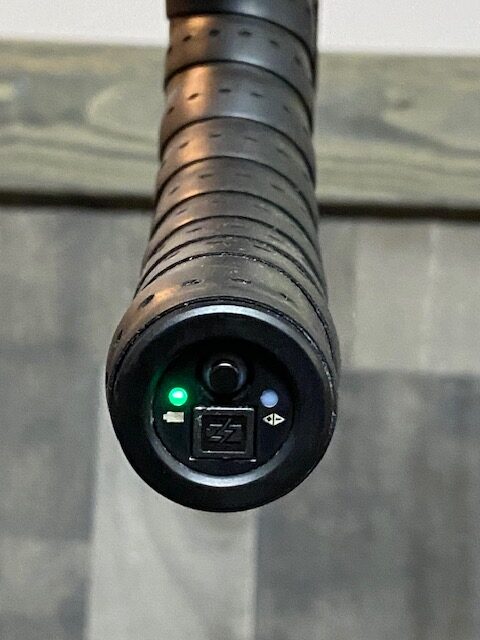
After the battery light comes on for two seconds, both lights are going to flash or do something else that has to do with your shift mode, which is the subject of another article. But all we’re worried about is this light for about two seconds after you hit your shift switch.
You can check out my Youtube Video if you want more info on the other lights: Shimano Di2 Shift Modes
Shimano Di2 Internal Battery Location
The actual Shimano Di2 battery is located in different areas depending on the bike that you have. I have a Trek Domane, and on this particular Trek, the Di2 battery is in downtube and can be accessed by opening the the hidden compartment under the water bottle cage. See picture below.
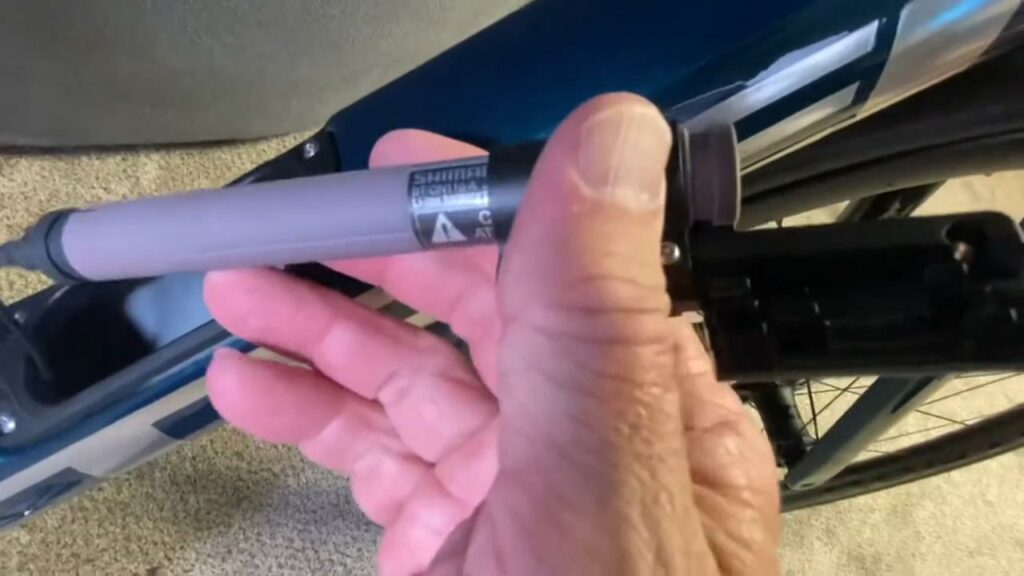
That’s actually the battery that we’re charging. Where it’s located depends on the bike that you have. Your battery might be located in the seat tube, where you’ll have to take the seat off or the seat post out to get to the battery. Those are the two different types that I know about. There might be others out there, but just so you know, the battery is usually internally mounted on some bikes and it could be externally mounted on others.
Di2 Charging Lights; what do they mean?
The LED lights on the Shimano Di2 SM-BRC2 charger will tell you if the Di2 battery is charging or if it is done charging.
The left LED light (CHARGE Indicator)will glow orange when the battery is being charged. This light will go out when charging is complete. The right hand LED light (ERROR LED) will illuminate if there is a problem with the battery or the charger.
If the ERROR LED indicator starts blinking, it likely means the charger is too hot or too cold for it to function. Check that the room temperature is between 0°-45° C, or 32°-113° F.
If the CHARGE indicator is blinking, the USB power source you are using does not have enough power. Be sure the current capacity of your source is equal to or greater than 1.0A.
Di2 Lights Explained
There are 2 LED lights on the Di2 Junction Box on your bike. They have several meanings:
Pressing any of the shift levers for .5 seconds will cause the LEFT LED to indicate the Battery Charge Level for 2 seconds, then both LED lights will flash to indicate which Shift Mode you are in.
Pressing the button on the Junction Box for .5 seconds will put the Di2 into Bluetooth Pairing mode (only if you have the wireless module installed) and the 2 LED lights will flash alternately red and green.
Pressing the button on the Junction Box for 2 seconds will put the bike in Adjustment Mode and the Red LED will illuminate. Do not do this unless you know what you are doing.
I hope you found this article helpful! Please comment or leave questions below and I will be happy to reply!
Thanks for visiting Dave’s Cycling!

